Part of my trousseau as well as for the Underwear Breakfast at Costume College.
This was constructed in one and a half days using French machine sewing techniques. The pattern is Folkwear's Edwardian Underthings.
I had cut these all out previously to use as the lingerie for my Edwardian wedding dress but then found that the color was too bold and needed to be white. I had it all sitting in a box and ready to go so finally found the motivation to get them done!
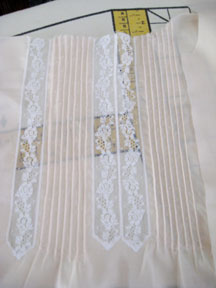
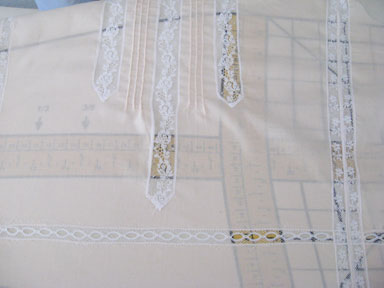
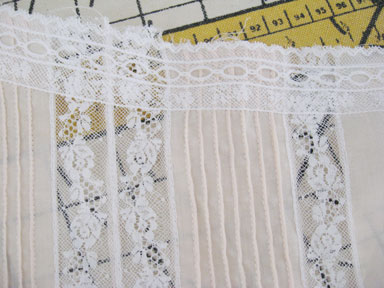
On the pattern it was all marked out for insertion, pin tucks, and ribbon casing. While I followed the lace insertion and ribbon casing guidelines using thread marking, I have a special foot for pin tuck spacing on my sewing machine that I used instead of doing traditional pin tucks. In fact, this video will show you the foot with the spacing. To use it you use a double needle with two top thread. When you use it with the pin tuck blade (the little plastic bit attached to the plate of the machine in the video) it creates really easy pin tucks with no effort! To make the pin tucks spaced correctly on the corset cover I measured half the distance between the insertions and, using a clear ruler, marked it lightly in pencil. Then using the spacing foot I continued until I liked the number and spacing of the tucks. All the insertion is done with a zig zag stitch and then trimmed out from behind.
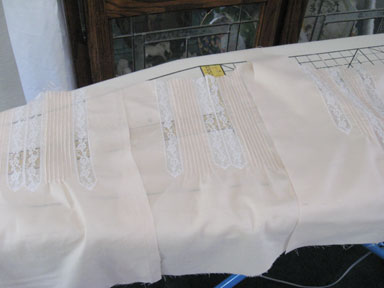
Here it is with the insertion and the pin tucks.
I sewed up the sides then, using more lace insertion, trimmed away the seams.
The next step was to run a casing for the ribbon. In this case I chose to not use a casing, but a lace beading. It has a more delicate look, even if not to last as long as traditional casings. This was also zig zagged on and then cut away.
From here I forgot to take photos, but the bottom was edged in a lace edging, then a second row of straight insertion applied above that, then the underneath fabric cut away. It called in the pattern for a narrow hem, but I wanted it more pretty than that.
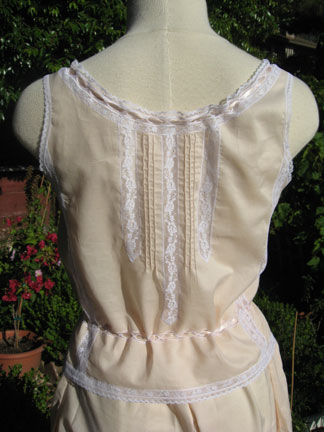
Next came the shoulder seams, done with French seams, then the lace edging, beading, and lace insertion to form the neckline. Let me say right now that lace beading and pin tucks are arch enemies and unfortunately when trying to trim the back fabric I snipped through the lace in several spots. I had to zig zag the edge together which worked, but I was frustrated that it didn't meet the perfection I had intended for the neckline! In general, I find lace beading to be much more flimsy and not as utilitarian as Swiss embroidery beading, but that's probably why the Swiss is twice the price.
After this I finished the armholes with a narrow lace edging, then sat down on the couch with a good cup of tea and a movie while I trimmed everything away from behind. You need a really small pair of nippers to get in as close as possible to the zig-zag- and if you want it more sturdy you need to slice it down the center, press them away, stitch again on the edge, and then trim away. Either method is historically accurate- though they often did it with straight seams rather than zig-zag. The last few steps were to finish the seams at the front, sew buttonholes, sew buttons, and run a ribbon through the beading. The beading is rather temperamental, and to do it and not tear I use a small silver bodkin. You can purchase the same set at Lacis. When doing the buttonholes on machine it did pucker the fabric kind of funny so I used a stitch to do a scalloped edge to hopefully minimize the effect. It didn't really work, but that's ok...
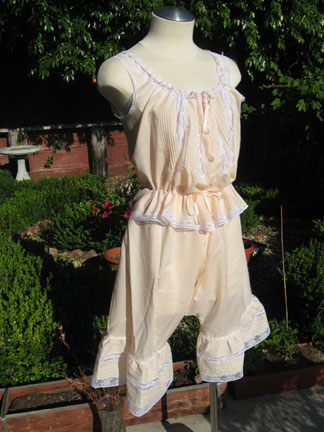
Here it is all put together and finished!
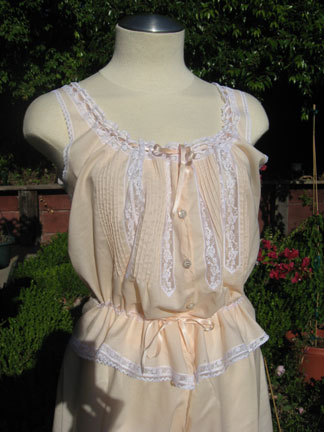
And together with the matching drawers I made earlier.